

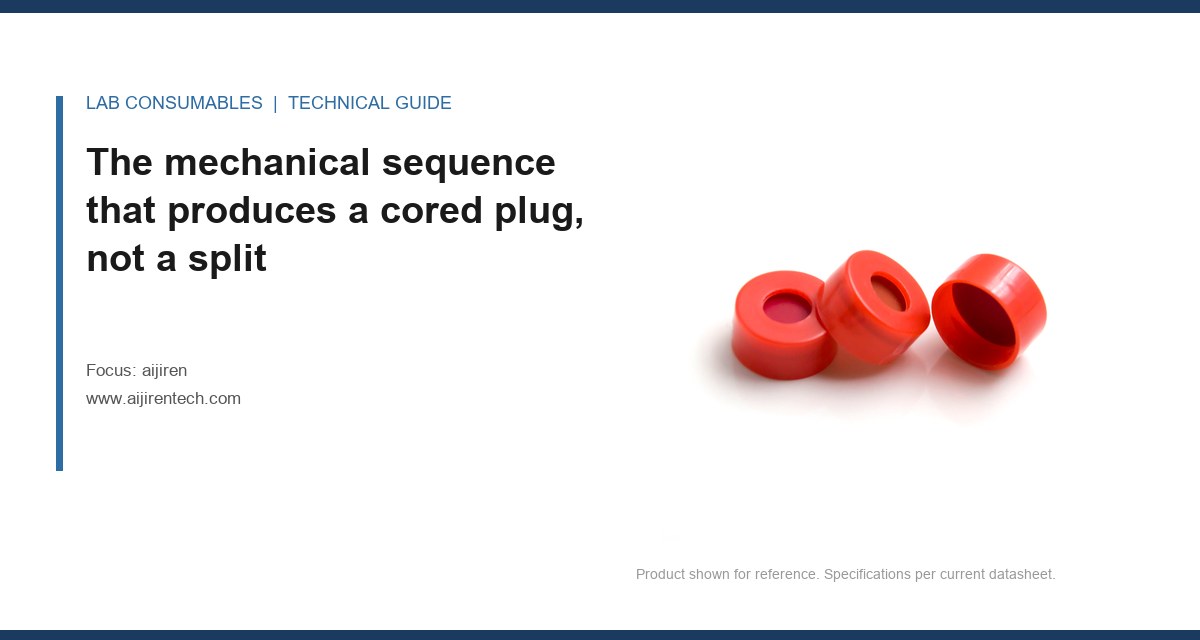
A 96-vial sequence on an Agilent 7697A headspace sampler stopped at vial 41. The autosampler needle had bent 11 degrees off axis and the septum from vial 40 had a clean 1.2 mm plug missing from the center. That plug was later found inside the needle bore, compressed to half its original thickness. If you have seen this, you are already dealing with aijiren coring, fragments and needle damage diagnosis, and the question is not whether the septum failed. The question is which dimension in the needle-and-guide stack caused the punch-out.
A septum does not core because it is soft. It cores because the needle tip presents a cutting edge to the elastomer while the needle is still moving. The standard injection cycle has four phases: approach, pierce, dwell, withdraw. Coring happens in the first 0.3 to 0.5 seconds of the pierce phase, when the needle tip has contacted the septum but has not yet passed the full wall thickness. If the needle has any bevel asymmetry or a burr along the heel of the bevel, the tip acts like a leather punch. It cuts a disc, folds it into the lumen, and drives it forward.
I have measured this under a 20x loupe more times than I care to count. A clean split looks like a straight line with slight tearing at the entry and exit edges. A cored plug looks like a crescent-shaped flap still attached at one edge, with a circular or oval void behind it. The plug itself, if you find it, is usually compressed into a lens shape. Its diameter tells you the lumen diameter that cut it. A 26s gauge needle (0.47 mm OD, 0.13 mm ID) leaves a plug about 0.13 mm thick when fresh. If that plug measures 0.2 mm or more, the needle had been reused past its bend limit and the bevel had rolled inward, enlarging the effective cutting circle.
Reading the debris under a loupe: what the fragment shape tells you
Before you replace anything, collect the debris. Use a clean white weigh paper and a pair of fine-tipped tweezers. Do not touch the septum surface with your fingers. The fragment shape, the void geometry, and the color banding on the plug all point to a specific failure mode.
Full disc, clean edges, uniform thickness
This is a straight punch-out from a sharp, centered bevel. The needle tip was aligned correctly, but the guide hole in the cap was undersized relative to the needle OD. I see this when someone pairs a 23s gauge needle with a cap drilled for 26s gauge. The guide hole diameter should be 0.10 to 0.15 mm larger than the needle OD. A 23s gauge needle is 0.64 mm OD. If the guide hole is 0.66 mm, there is only 0.02 mm of clearance. Any lateral runout in the autosampler arm drives the needle into the guide wall, the tip cants, and the bevel cuts a disc instead of spreading the elastomer.
Crescent flap, partial void, ragged hinge
This is a dull or rolled bevel. The needle tip contacted the septum at a slight angle, cut a partial arc, then tore the remaining material. The hinge is where the tear stopped. You will see this on needles past 80 to 100 injections on PTFE-faced silicone septa. PTFE is harder than silicone, and it wears the heel of the bevel faster. Once the heel rounds over, the needle no longer slices. It pushes, then cuts only along the toe of the bevel. The result is a crescent, not a disc.
Multiple small fragments, no single void
This is fragmentation from a cracked needle tip. The needle did not core a single plug. It shattered the septum surface into three or four small pieces. Under the loupe, you will see a starburst crack pattern around the entry point. This happens when the needle has been dropped, or when a previous bent-needle event was straightened by hand and put back into service. A straightened needle has a fatigue crack at the bend point. That crack propagates during the next pierce, and the tip breaks off inside the septum. The broken tip then acts as a secondary cutting edge, producing fragments.
The needle and guide dimensions that cause coring
Most coring complaints I investigate come down to one of three dimensional mismatches. The fix is not a harder septum. The fix is correcting the mechanical stack.
Guide hole to needle OD clearance. The guide hole in the cap must be 0.10 to 0.15 mm larger than the needle OD. For a 26s gauge needle (0.47 mm OD), the guide hole should be 0.57 to 0.62 mm. For a 23s gauge needle (0.64 mm OD), the guide hole should be 0.74 to 0.79 mm. If the guide hole is smaller than needle OD plus 0.05 mm, coring probability increases sharply. I have seen caps advertised as “universal” with a 0.60 mm guide hole. That works for 26s gauge, but a 23s gauge needle will bind, cant, and core within 20 injections.
Bevel angle and bevel length. A standard HPLC injection needle has a 12-degree bevel. A headspace needle for GC typically has a 17-degree bevel. The bevel length for a 26s gauge needle should be 1.8 to 2.2 mm. If the bevel is shorter than 1.5 mm, the tip is too blunt. It will not slice the elastomer. It will punch. If the bevel is longer than 2.5 mm, the tip is too fragile and will roll on the first hard septum. Both conditions produce coring, but with different debris geometry.
Needle straightness and runout. A new needle should have less than 0.05 mm total indicated runout measured 10 mm from the tip. I check this with a dial indicator and a V-block. If the runout exceeds 0.10 mm, the needle tip orbits during the pierce. The orbit radius is added to the effective cutting diameter. A 26s gauge needle with 0.10 mm runout cuts a hole 0.67 mm wide, not 0.47 mm. The septum cannot close that hole, and the next injection cores a plug from the unsupported material around it.
Field case 1: the 7697A that cored every 11th vial
A contract lab running EPA 8260 volatiles on a 7697A headspace sampler called me after three days of intermittent coring. The pattern was not random. Every 11th vial cored, give or take one. The septum was a 20 mm PTFE/silicone, 0.125 inch thick, rated for 100 punctures. The needle was 23s gauge, side-port, 51 mm long.
I asked them to pull the needle and measure the bevel under a loupe. The bevel had a 0.3 mm flat spot at the heel. That flat spot was the smoking gun. Every 11th vial corresponded to the autosampler turret position where the needle approached at a 1.2-degree angle due to a worn turret bearing. The angled approach loaded the heel of the bevel, the flat spot caught the PTFE face, and the needle cored a plug instead of slicing. The fix was replacing the turret bearing and the needle. The septum was fine. We ran 200 injections after the fix with zero coring.
Field case 2: the 96-well plate that fragmented on column 7
A pharmaceutical QC lab running HPLC assay on a 96-well plate called with a different symptom. They found small black fragments in the injection port, not a single plug. The fragments were 0.1 to 0.3 mm across, irregular, and mixed with PTFE shavings. The plate was a polypropylene 96-well plate with pre-slit silicone mats. The needle was a 22s gauge, 0.72 mm OD, with a 12-degree bevel.
The measurement that identified it was a go/no-go pin gauge check on the pre-slit mat. The slit in column 7, row D was 0.4 mm wide, not the specified 0.6 mm. The mat had been molded with a short shot in that cavity. The undersized slit forced the 22s gauge needle to cut its own path through the silicone. The cutting action produced fragments, not a single plug. We replaced the mat lot, and the lab added a 100% pin gauge check on incoming pre-slit mats. The acceptance criterion is now a 0.55 mm pin must pass through every slit without resistance.
Septum material and hardness: what actually resists coring
Hardness is not the answer. A harder septum resists the initial pierce but increases the force on the needle tip. That higher force accelerates bevel wear, which then causes coring on the next injection. The right material choice depends on the needle gauge, the injection temperature, and the number of punctures per septum.
For ambient HPLC injections with 22s or 23s gauge needles, I specify a Shore A 45 to 55 silicone with a 0.010 inch PTFE face. The PTFE face provides the low-friction surface, and the silicone provides reseal. For heated headspace at 80 to 150 °C, I move to a Shore A 50 to 60 silicone with a 0.020 inch PTFE face. The thicker PTFE face survives more punctures before the needle tip contacts bare silicone. That matters because bare silicone is sticky. A sticky septum grabs the needle during withdraw, and the resulting side load can roll the bevel.
For SPME and high-temperature headspace above 200 °C, I use a septum with a 0.030 inch PTFE face and a Shore A 55 to 65 silicone core. The higher hardness is not for coring resistance. It is for compression set resistance at temperature. A septum that compresses permanently loses its clamping force, and the needle then wobbles in an oversized hole. That wobble is a coring precursor.
Puncture count limits: the number that actually matters
Every septum has a rated puncture count, but that number assumes a specific needle gauge, bevel condition, and entry angle. A 20 mm PTFE/silicone septum rated for 100 punctures with a 23s gauge needle will core at 40 punctures if you use a 22s gauge needle with a worn bevel. The rating is not a guarantee. It is a maximum under ideal conditions.
My rule for regulated methods: replace the septum at half the rated puncture count if the needle OD is one gauge larger than the rating assumes. Replace at one-third the rated count if the needle has been in service for more than 50 injections. And replace immediately if you see any PTFE flaking or silicone extrusion around the entry point. The cost of a septum is trivial compared to the cost of a failed sequence or a contaminated injection port.
For 96-well plate mats, the puncture count is per well, not per mat. A mat rated for 5 punctures per well is done after 5 injections into that well. I have seen labs reuse mats across multiple plates because the mat “looked fine.” The wells looked fine, but the silicone around each slit had taken a compression set. The next needle pierce cored a plug from the unsupported material.
Decision checklist: is it coring, or is it something else?
Run this checklist before you order replacement parts. It takes 10 minutes and it will tell you whether the problem is the needle, the guide, the septum, or the autosampler alignment.
- Measure the needle runout. Mount the needle in a V-block. Use a dial indicator at 10 mm from the tip. If runout exceeds 0.10 mm, replace the needle. Do not straighten it.
- Inspect the bevel under 20x. Look for a flat spot at the heel, a rolled edge, or a crack. Any of these means replacement. A bevel with a flat spot will core every time the approach angle varies.
- Check the guide hole diameter. Use a pin gauge set. The guide hole must be 0.10 to 0.15 mm larger than the needle OD. If the pin for the minimum clearance does not pass, the cap is wrong.
- Look at the septum surface. A clean split is normal. A crescent flap, a circular void, or multiple small fragments means coring. Collect the debris and measure the plug diameter.
- Check the autosampler approach angle. If the needle enters at any visible angle, the turret or the guide is worn. The angle does not need to be large. 1 degree is enough to cause coring on a hard PTFE face.
- Count the punctures. If you are past half the rated count on a heated septum, replace it. If you are past one-third the rated count on a needle with more than 50 injections, replace both.
- Verify the septum lot. If coring started with a new lot, run a Shore A hardness check on 10 septa from that lot. A 5-point hardness shift is enough to change the coring threshold.
What I specify for aijiren coring-resistant setups
When a lab asks me to spec a coring-resistant configuration, I give them concrete numbers. For a standard HPLC autosampler running 22s gauge needles, I specify a 9 mm screw cap with a 0.75 mm guide hole, a 22s gauge needle with a 12-degree bevel and 2.0 mm bevel length, and a PTFE/silicone septum with a 0.010 inch PTFE face and Shore A 50 silicone. The septum is rated for 50 punctures, and I tell them to replace at 25. The needle gets replaced at 100 injections or the first sign of bevel wear, whichever comes first.
For headspace GC with 23s gauge needles, I specify a 20 mm crimp cap with a 0.79 mm guide hole, a 23s gauge needle with a 17-degree bevel and 1.9 mm bevel length, and a 0.020 inch PTFE face on Shore A 55 silicone. The septum is rated for 100 punctures at 150 °C. I tell them to replace at 50 if the run is longer than 12 hours, because compression set at temperature reduces reseal before the puncture limit is reached.
For 96-well plates, I specify a pre-slit silicone mat with a 0.60 mm slit width, verified with a 0.55 mm pin gauge on every cavity. The needle is a 22s gauge with a 12-degree bevel and 1.8 mm bevel length. The mat is single-use. No exceptions. The cost of a new mat is under $2 per plate. The cost of a failed sequence is measured in hours.
These dimensions are not proprietary. They are derived from the geometry of the needle tip and the elastomer mechanics. You can verify them yourself with a pin gauge set and a loupe. If you are sourcing caps and septa, check the guide hole dimension first. Many suppliers do not publish it. That omission is a red flag. A Vials With Caps supplier who cannot tell you the guide hole diameter does not control that dimension, and an uncontrolled guide hole is the most common root cause of coring I see.
The same applies to needle specifications. If your Vial Supplier cannot provide bevel angle and bevel length, you are buying needles that were ground to a price, not to a geometry. A 12-degree bevel and a 17-degree bevel are not interchangeable. Using the wrong one on a hard septum will core within 10 injections.
For method documentation, I reference the relevant sections of U.S. EPA SW-846 when the method calls for specific injection parameters. The method will not tell you the guide hole dimension, but it will tell you the needle gauge and the injection temperature. Those two numbers define the septum material and the puncture count limit.
If you are running Agilent instruments, check the needle and septum compatibility tables in the Agilent chromatography consumables and columns documentation. The guide hole dimensions are listed for each cap and septum combination. Thermo Fisher also publishes needle and septum compatibility for their autosamplers in the Thermo Fisher chromatography and sample handling resources. Restek has a useful technical library on septum failure modes and needle wear at Restek technical resources for chromatography.
For more on the full dimensional stack and how it interacts with your instrument, the Aijiren site has the specific cap and septum drawings with the guide hole dimensions listed. And for method-specific consumable selection, Lab Chromatography covers the intersection of consumable specs and regulated method requirements.
The decision rule
If the debris is a full disc with clean edges, the guide hole is undersized for the needle OD. If the debris is a crescent flap, the bevel is dull or rolled. If the debris is multiple small fragments, the needle tip is cracked or the pre-slit mat is undersized. Measure the needle runout, the guide hole diameter, and the bevel geometry before you blame the septum. Replace the needle at the first sign of bevel wear, replace the septum at half the rated puncture count, and verify the guide hole with a pin gauge on every new lot. Coring is a dimensional problem. Fix the dimensions, and the debris stops.
References & further reading
Related resources from our lab consumables network:
- Aijiren at aijirentech.com
- Vials With Caps at vialswithcaps.com
- Vial Supplier at vialsupplier.com
- Lab Chromatography at labchromatography.com
External references and standards: